Table of Content
When the ice starts to melt, hold a bowl underneath the bottle nozzle. Screw the cap back on the bottle before draining the other. Put ice cubes inside the bottles and turn on your fan. Lift the bottom of the bottle up so you can fit ice cubes inside the cut. Turn your fan on high and point it towards the area you want to cool down. Pour 3 tbsp of salt into each of your 3 plastic water bottles.
Next, fill all the gaps between insulation pieces with spray foam and tape them over. Add one more layer of insulation and stagger the starting point, such that all seam gaps from the first layer are covered fully by the second layer. Finally, add a third layer of insulation, then seal all remaining seams with tape.
Step 3: Mount the Bottles on the Fan
You can save a lot of money making a walk-in cooler on your own, but it does require considerable skill and knowledge. There are a few more things to consider when building a homemade walk-in cooler. If yours has concrete floors, you need to insulate them only if the target room temperature is below 37 degrees Fahrenheit. Also, be sure not to use fiberglass insulation in your walk-in cooler. In a few hours, you can run your fan like an air conditioner again!

This can cool air using much less energy than a refrigeration system. So, here’s how you can have a homemade room cooler with just a fan and a few blocks of ice. The scientific principle behind air coolers, known as evaporative cooling, is quite simple. It refers to a fairly common natural phenomenon that regularly occurs in our environment.
How to Create a Collaborative Spotify Playlist With Your Family This Holiday Season
One of these is big enough to fit the fan, which is placed face-down into the box. Finally, inside the cool box, which would normally store food or drink, is a big block of ice. These DIY air conditioner projects demonstrate how easy it is to cool down your home and beat the next heatwave. Thread the zip ties through the bottle holes and attach the bottle to the fan. As hot air rushes into each plastic bottle, it is pushed to the rim where it begins expanding.

Line up all 4 edges around the opening, and make sure the stitched edges of the side panels are aligned. You should now have a rough bag shape with an open top and unstitched bottom. The long sides of both side panels should now be entirely stitched to the main panel. Repeat the steps to line the right panel’s top left corner with the main panel’s bottom right corner. In (1.3 cm) above the side panel's bottom right corner. The result should be a mirror image of the sewed left side panel.
Pond Pump-Powered Swamp Cooler
The water is kept cool with ice bags placed against the vinyl tubes before it reaches the copper. Lift the left side panel up straight so it’s perpendicular to the main panel. Fold up the main panel to align its bottom left corner with the top right corner of the left side panel. Pin the panels together from the side panel’s top right corner to its bottom right corner. Spread the outer fabric rectangles flat on your work surface. Once they’re glued into place, the tops of the side panels should be 1 in (2.5 cm) below the box’s top edge.
Add 1 more stitch line where the lining meets the outer fabric. Find the ditch, or the line where the waterproof liner meets the outer fabric. Stitch a line directly into the ditch all around the bag’s opening. Sew the bottoms of the side panels' short sides to the main panel. After sewing each short side, sew additional stitch lines down the bottom of the bag’s long sides to create a flat bottom.
Simple Fall Quilt Drops Cornerstones Quilt Tutorial
Amy Guerrero is an Arts and Crafts Specialist and the Owner of Sunshine Craft Co., a crafting studio based in Phoenix, Arizona. Amy specializes in macrame, DIY crafting, and teaching fiber arts. She offers monthly in-person and online workshops along with having developed a range of DIY craft kits for at-home projects. Amy holds a BS in Industrial Design from Philadelphia University. She worked as a graphic designer before starting her own business. With the outer and inner layers now attached, reach into the bag’s opening.
While it might not work as a long-term solution, it's a smart stopgap when your air conditioner is down. If you live in areas where heatwaves are rare, a DIY aircon unit will also save you spending big bucks on cooling. Here, two circles are cut into the lid of the cool box.
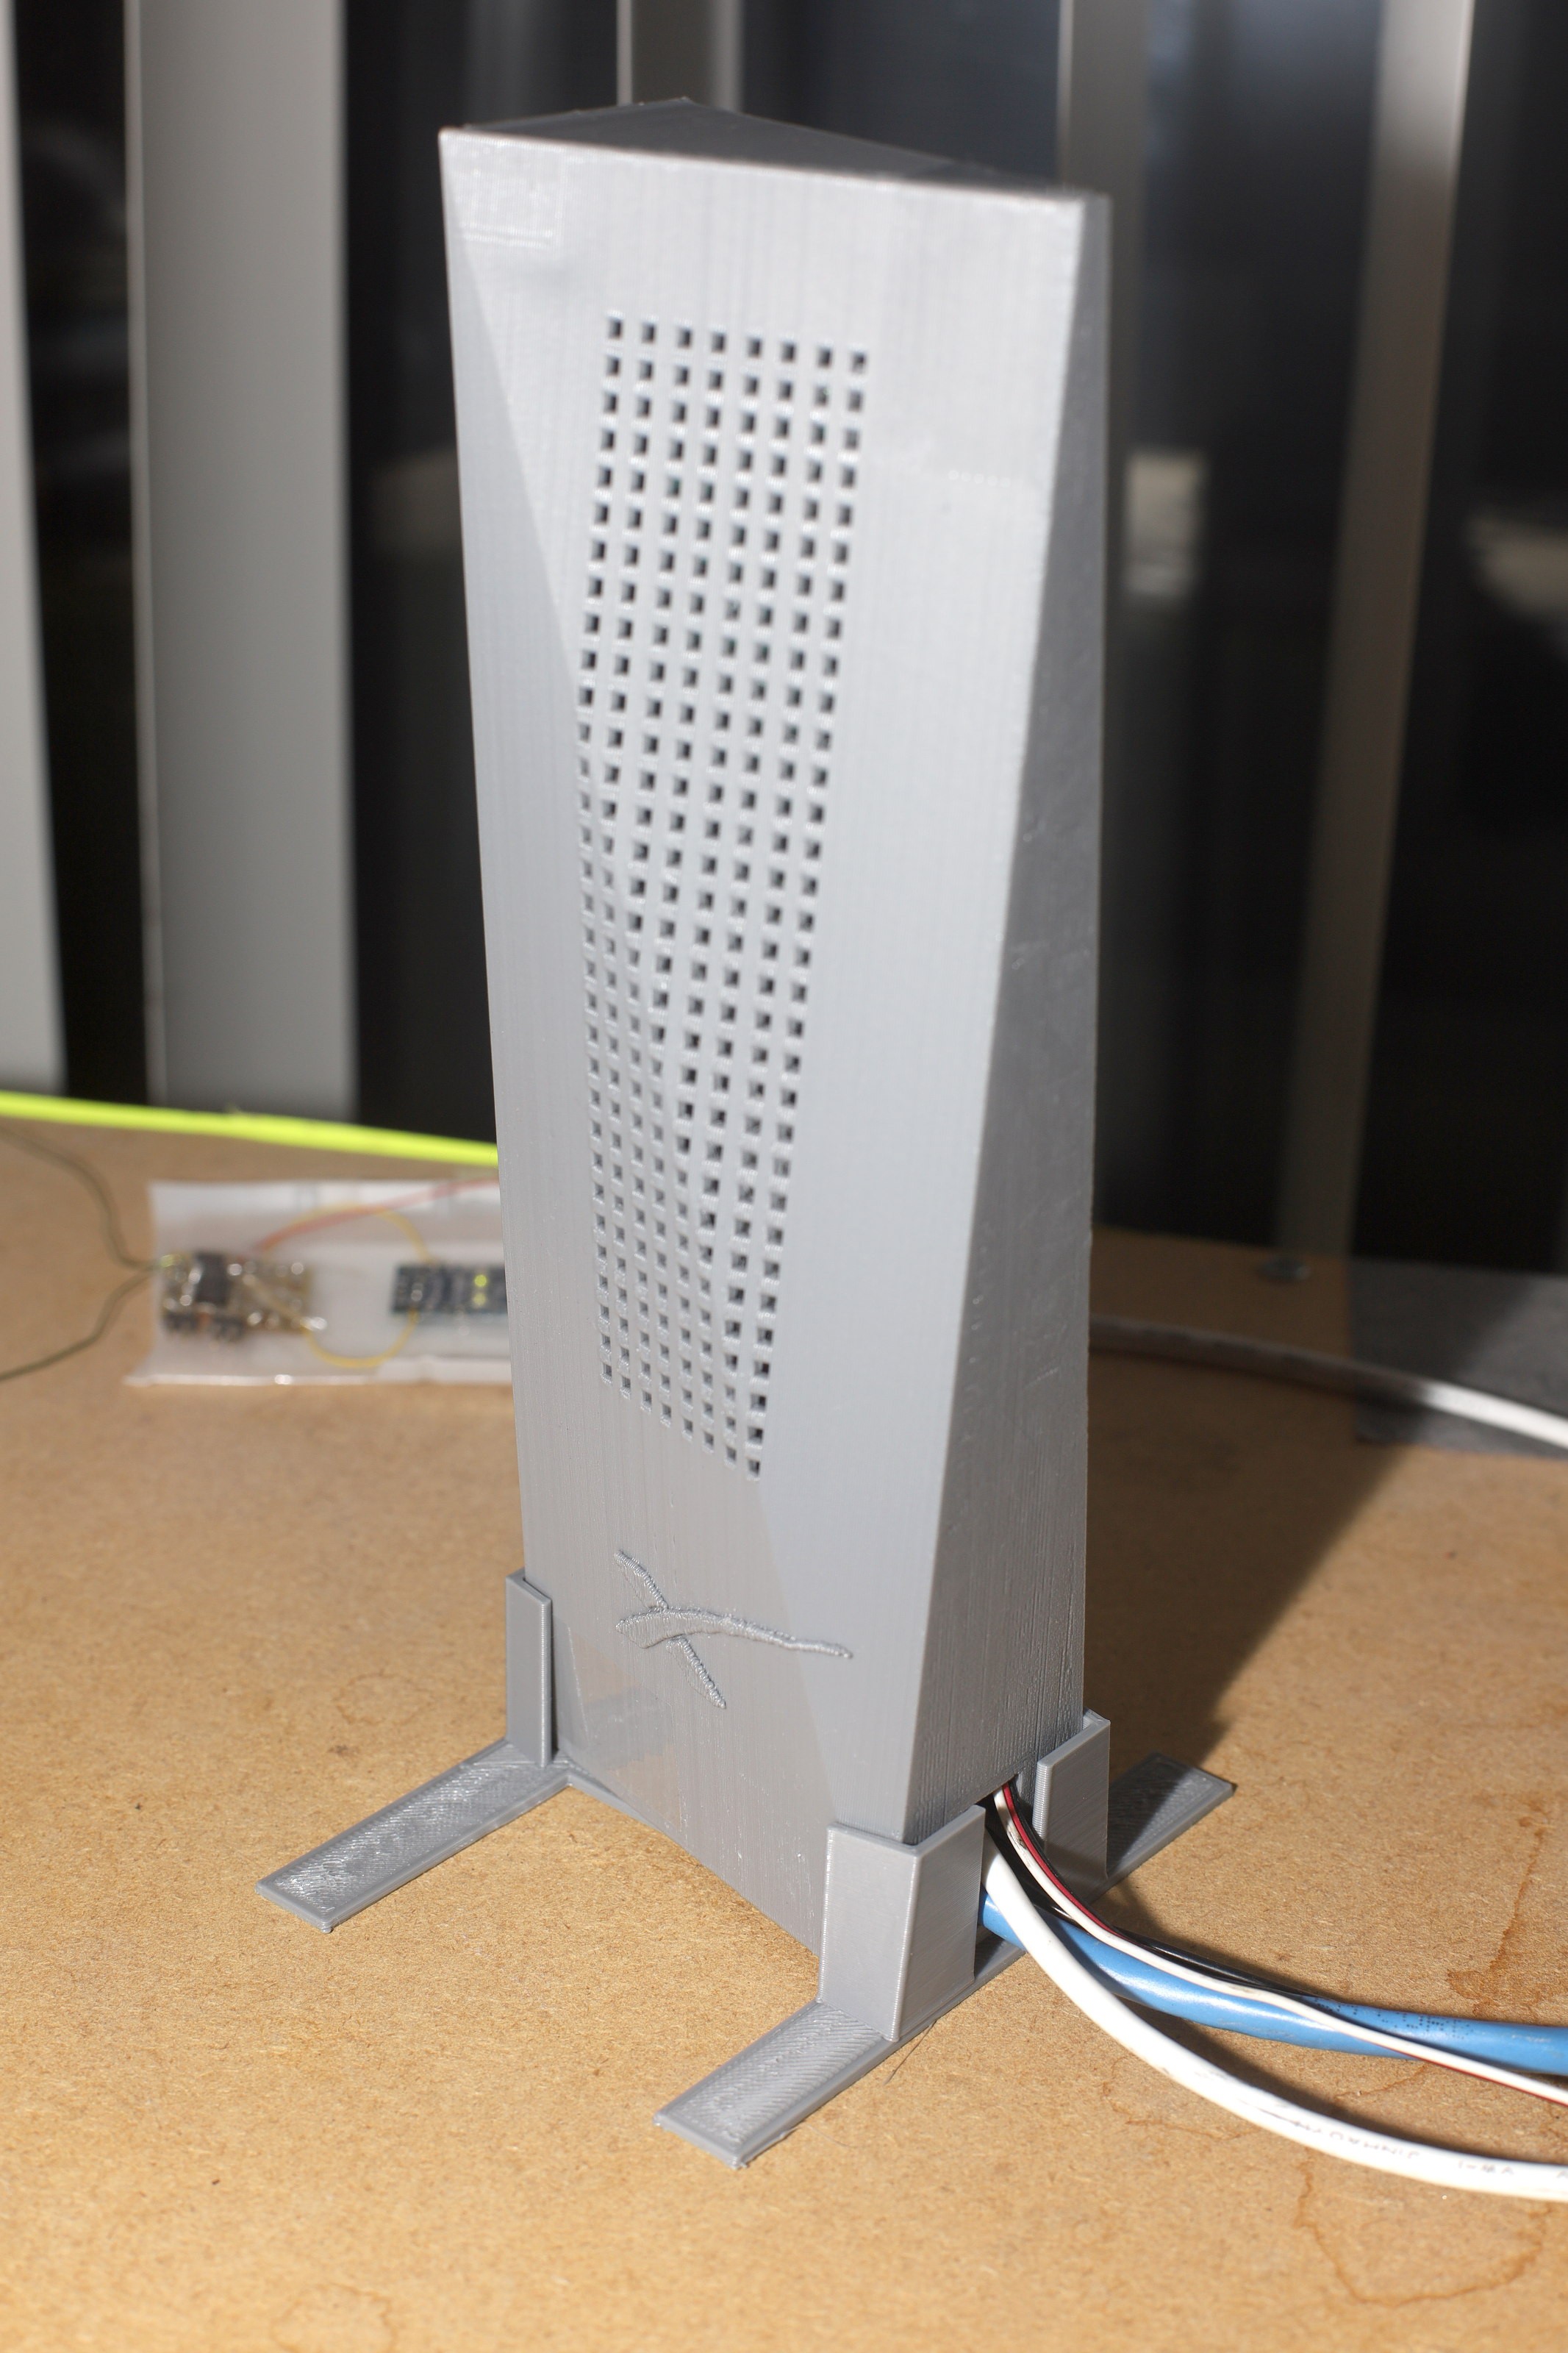
We recommend that you either use soft drink or mineral water bottles. Just make sure that the material of the bottle isn’t too thin or too thick. Thin material will start to melt quickly, and venting holes in thick material would become challenging. Here, a compact fan is mounted face down into a bucket lid, alongside two short lengths of pipe. The pipes can be secured with hot glue or expanding foam, or even bathroom sealant.
This expansion then leads to the cooling of the air as it enters the target room. As air enters the plastic bottle’s wider part it comes out the bottleneck with higher pressure. As it quickly disperses into the room, its temperature drops. The DIY air conditioner produces 42°F air in an 80°F room! You get all of the amazing cooling power you’d get from a super expensive A/C unit for cheap.
So, this was our take on turning an ordinary fan into an air cooler. We have shared the method of creating a homemade air cooler using fan and ice only. You can apply this technique at your home by using any pedestal fan and a few water bottles and surprise your family. Lay a side panel of waterproof material over the large waterproof rectangle, and align their upper left corners.
Make enough holes to let the air pass through and from the bottles. Take a tapered reamer/reamer knife and vent tiny holes into the water bottle. Admittedly, this is the most complex project listed here, and again requires a source of relatively cool water. Also, lifting the ice chest can risk structural issues that lead to cracking, so the best advice is to find a position and leave it there to avoid leaks. If you're looking for something small and compact to keep you cool, this milk carton has you covered.


No comments:
Post a Comment